
New Keyboard
 I regularly read Hackernews to stay abreast of new tech and came across Down the mechanical keyboard rabbit hole. Having lurked on r/mechanicalkeyboards for several years, I bought a Mistel Barroco two years ago on a recommendation from a co-worker and so far it has been great! It has the typical layout layout I’m familiar with and being able to keep a more open posture while typing has (probably) helped my shoulder soreness; although I suspect that my standing desk has had a larger impact.
One of the more unique keyboard layouts that has always kept my attention is a columnar ortholinear layout. The designs of these keyboards feel utilitarian and maximize proximity. Of course, learning a new keyboard layout seems like a huge productivity sink without much gain. Things finally came to a head for me reading that HN article. I was going to buy an ortho-linear keyboard. The whole process required a lot of research as pre-built keyboards are either non-existant or pretty spendy. After looking over what kits were available, I was torn between the Corne Cherry V3 and the lily58. The main difference being that the lily58 has number keys, which would soften the learning curve. I poured over the site several times making sure that I had EVERYTHING I needed and bought a lily58 kit, keycaps and switches from a company called yushakobo (遊舎工房) and it arrived the next day at 9:30am!
Some first thoughts when I opened everything was there’s going to be a daunting amount of soldering components much smaller than I’m used to. I mean, look at how tiny the diodes are!
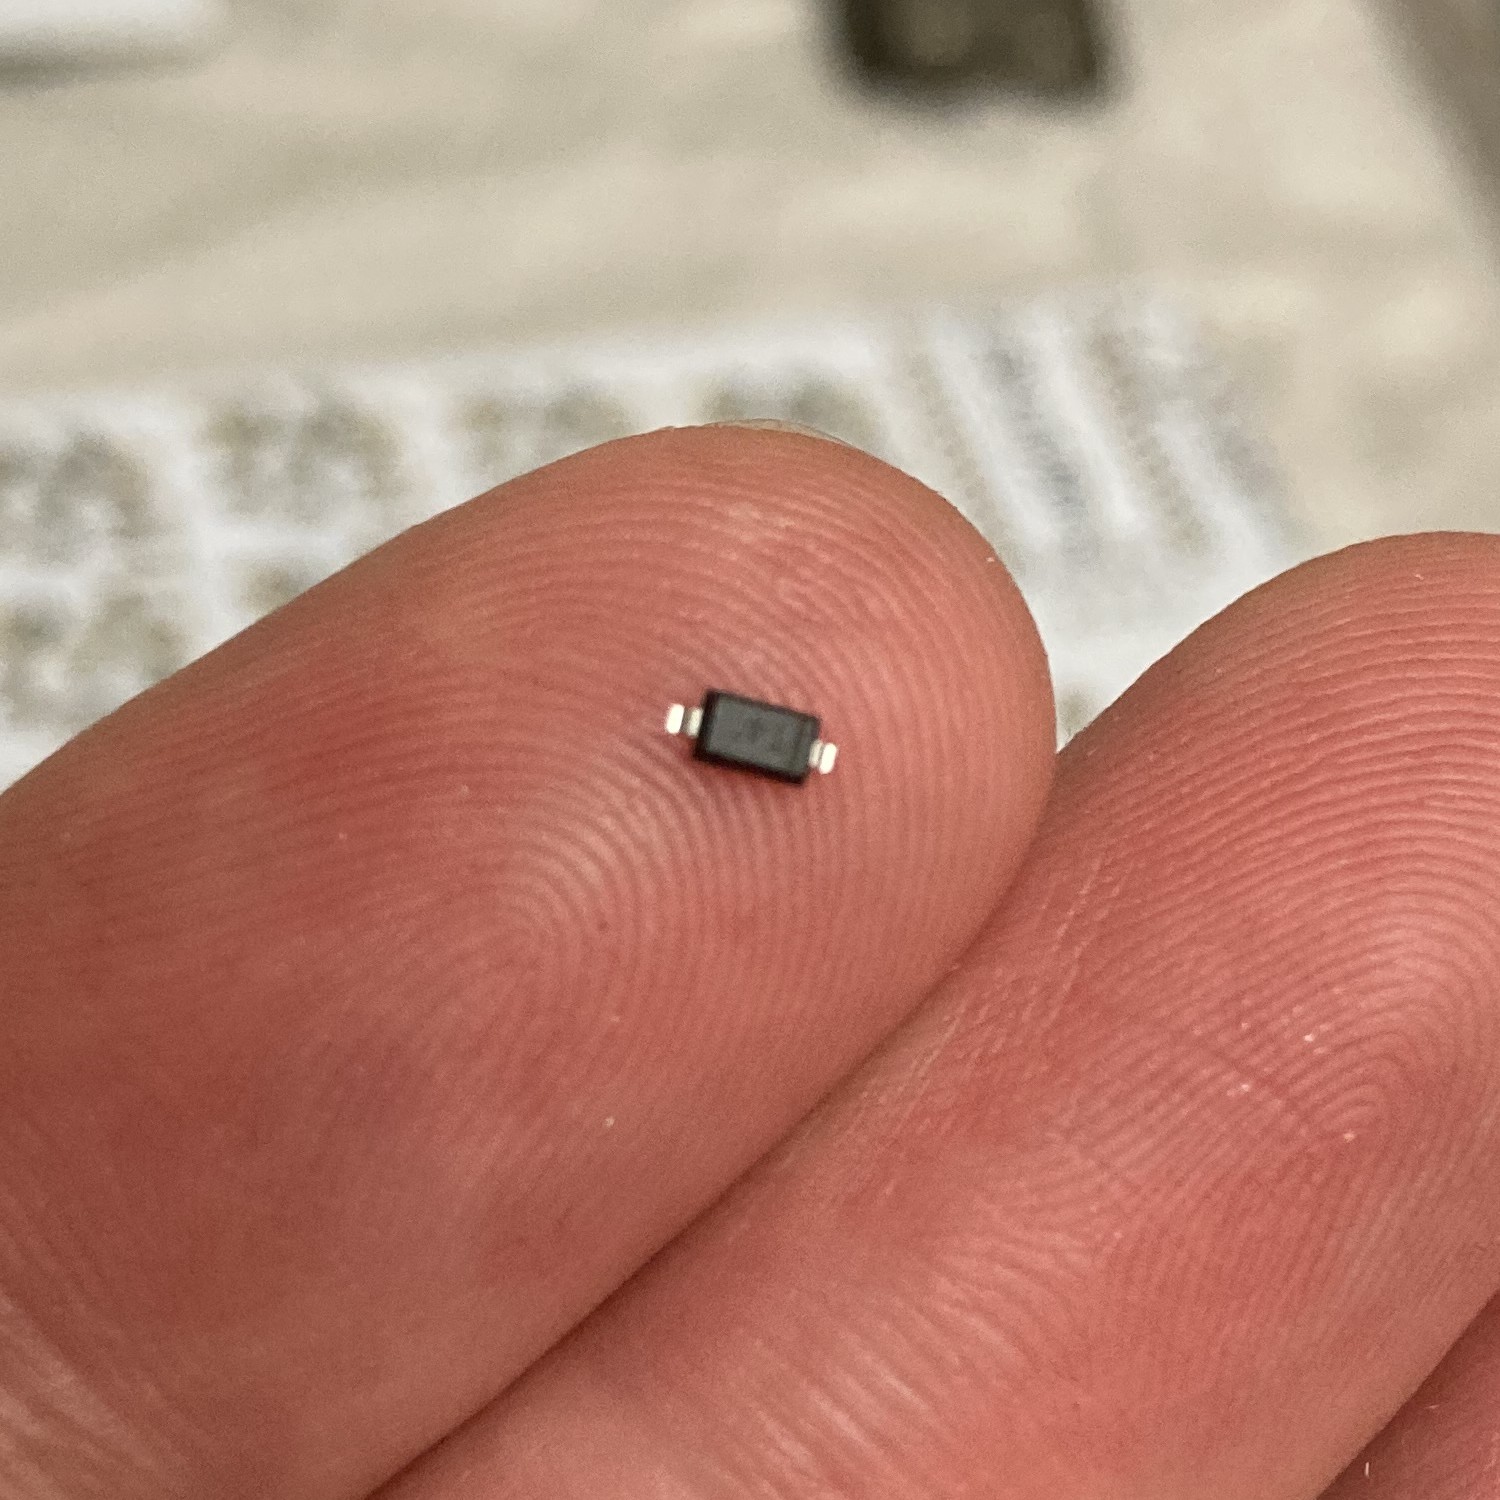
smaller than a grain of rice!
A quick rundown of tools I used that were vital:
- soldering iron & solder: $3 from a discount store
- tweezers: the ones with an angled tip are nice, I kind of wished I had ones that were default closed; I cannot count the number of times I dropped those tiny diodes
- magnifying glass: I found a soldering holder for pretty cheap a few months ago
- digital multimeter: VERY useful for confirming diode polarity
- toothpicks: scrape away excess solder (a solder wick might work better)
I managed to take care of almost all of it in about 4 hours with a $3 soldering iron. Once I got into the flow of things, I kind of lost track and soldered well past midnight.
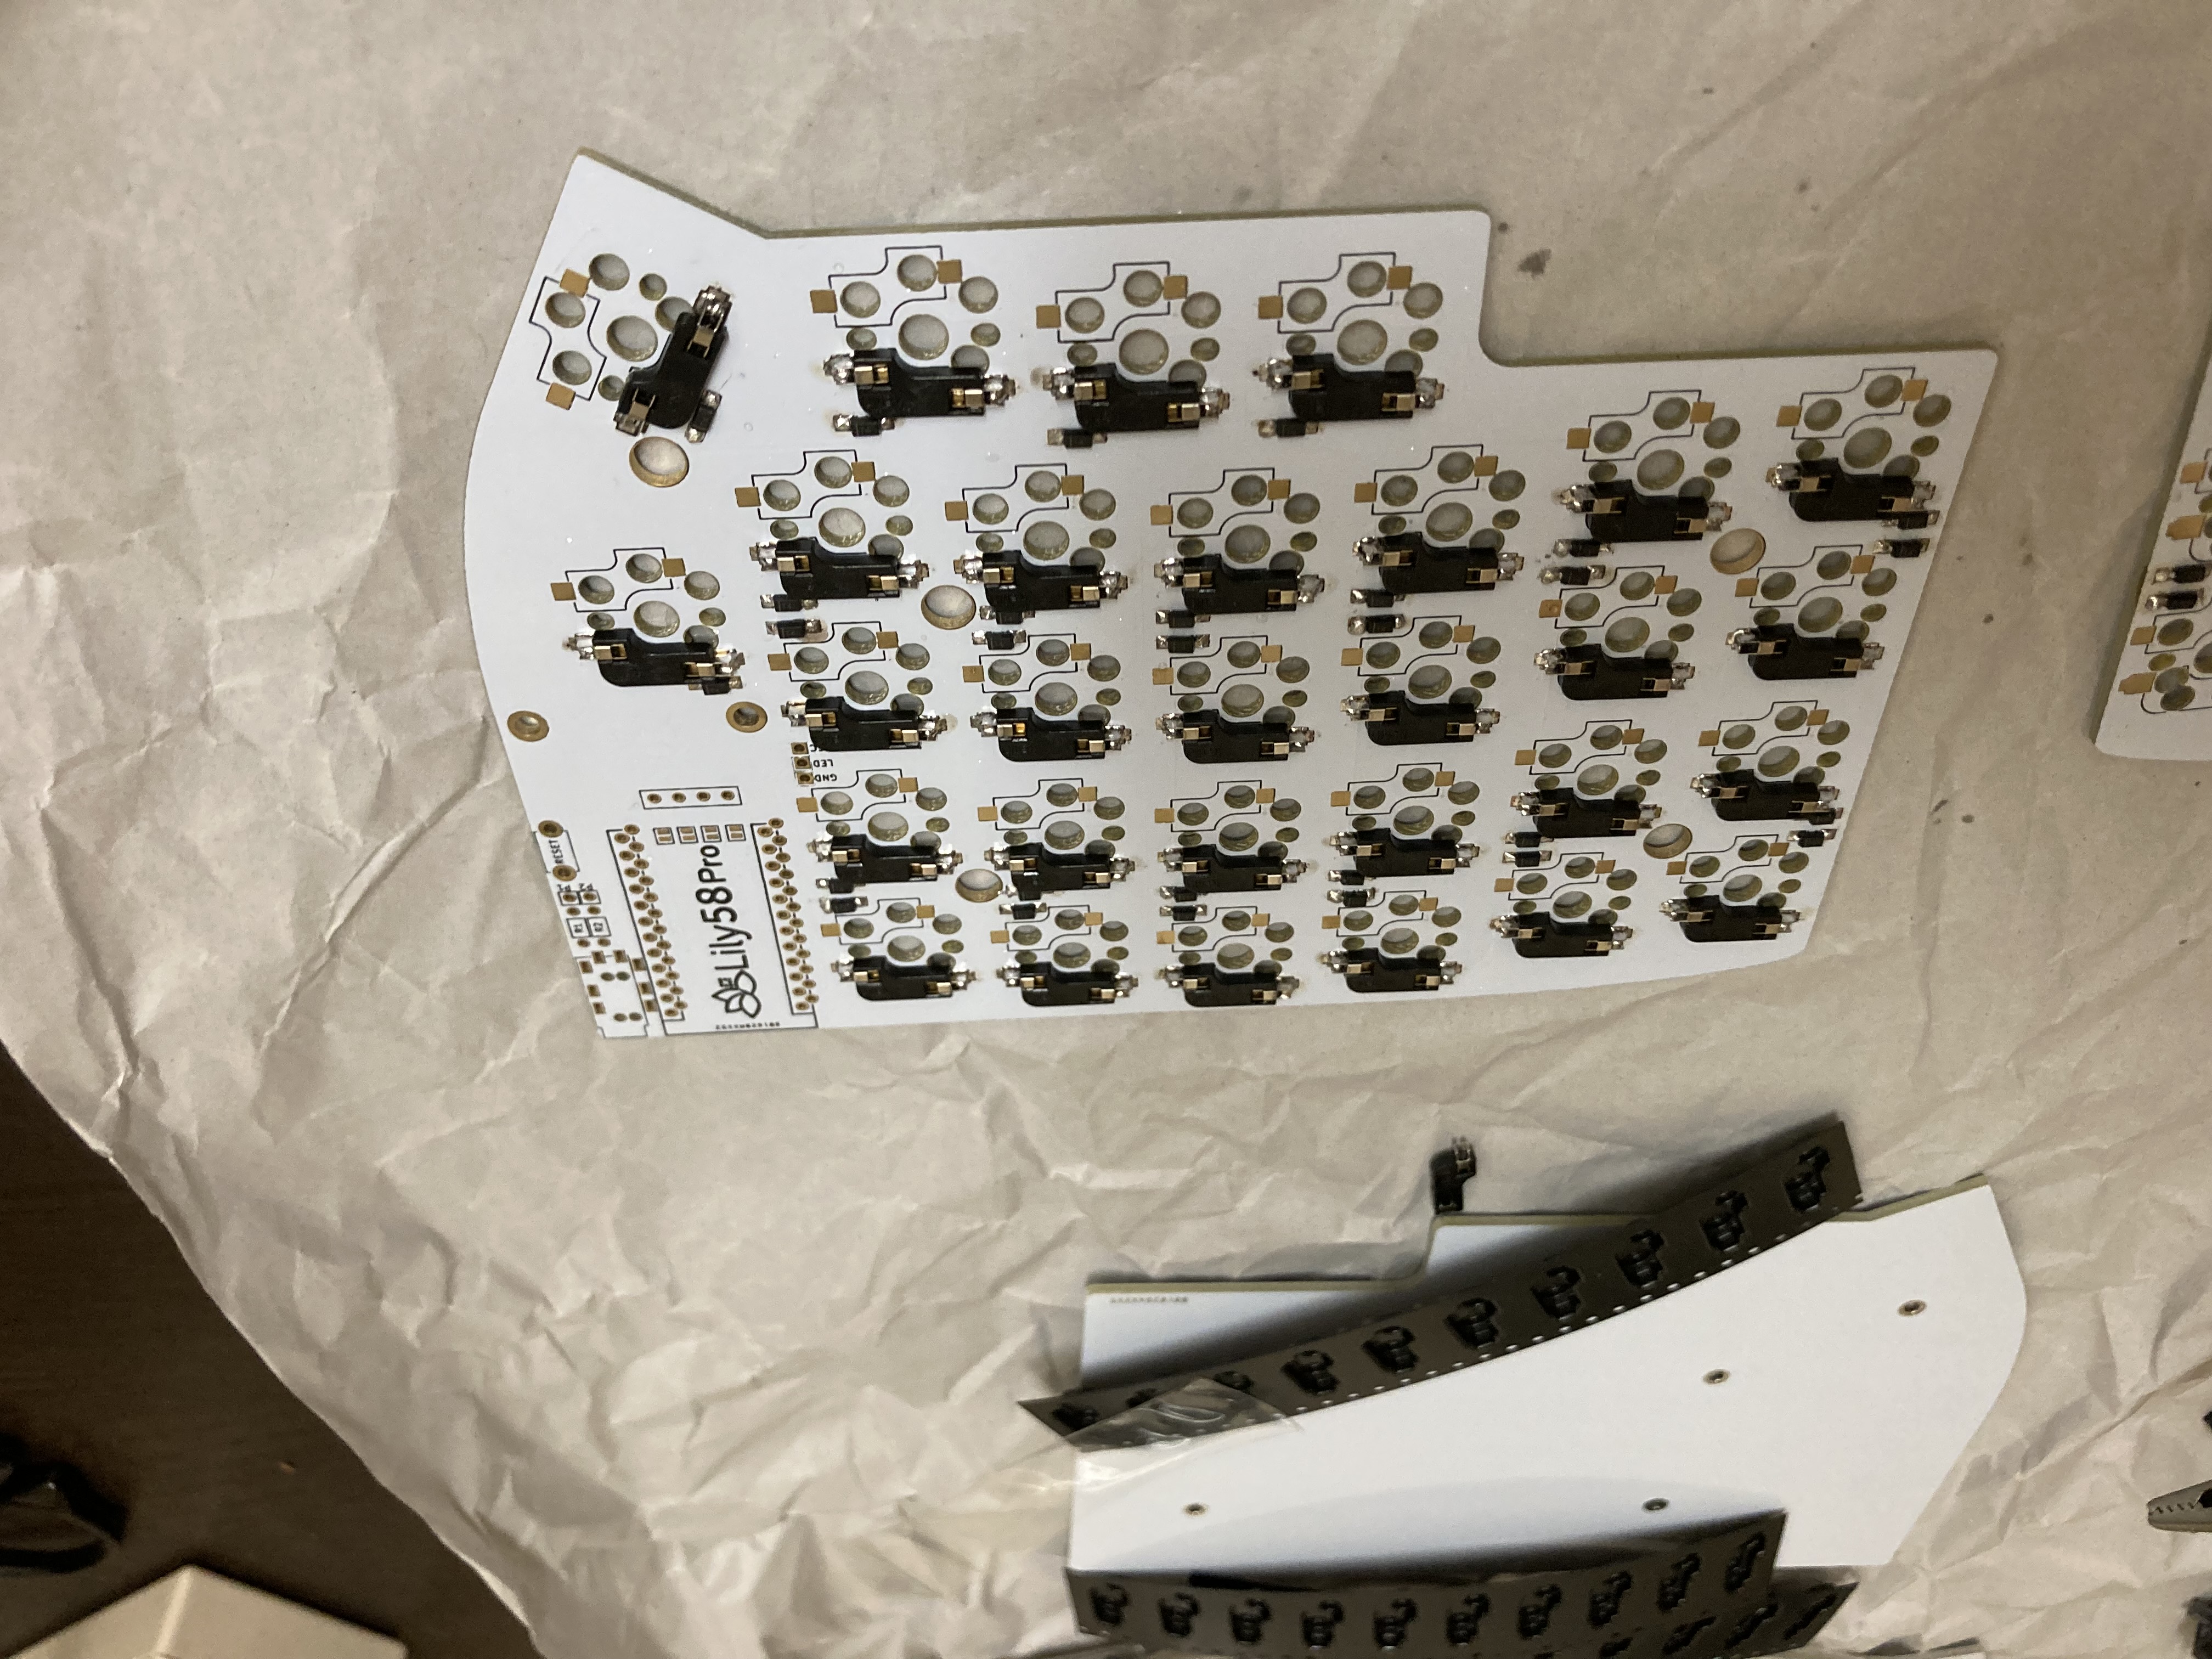
It took quite a lot of getting used to working with such small components and some of the solder joints were pretty gnarly and had me worried if I had fried some diodes trying to solder them in place.
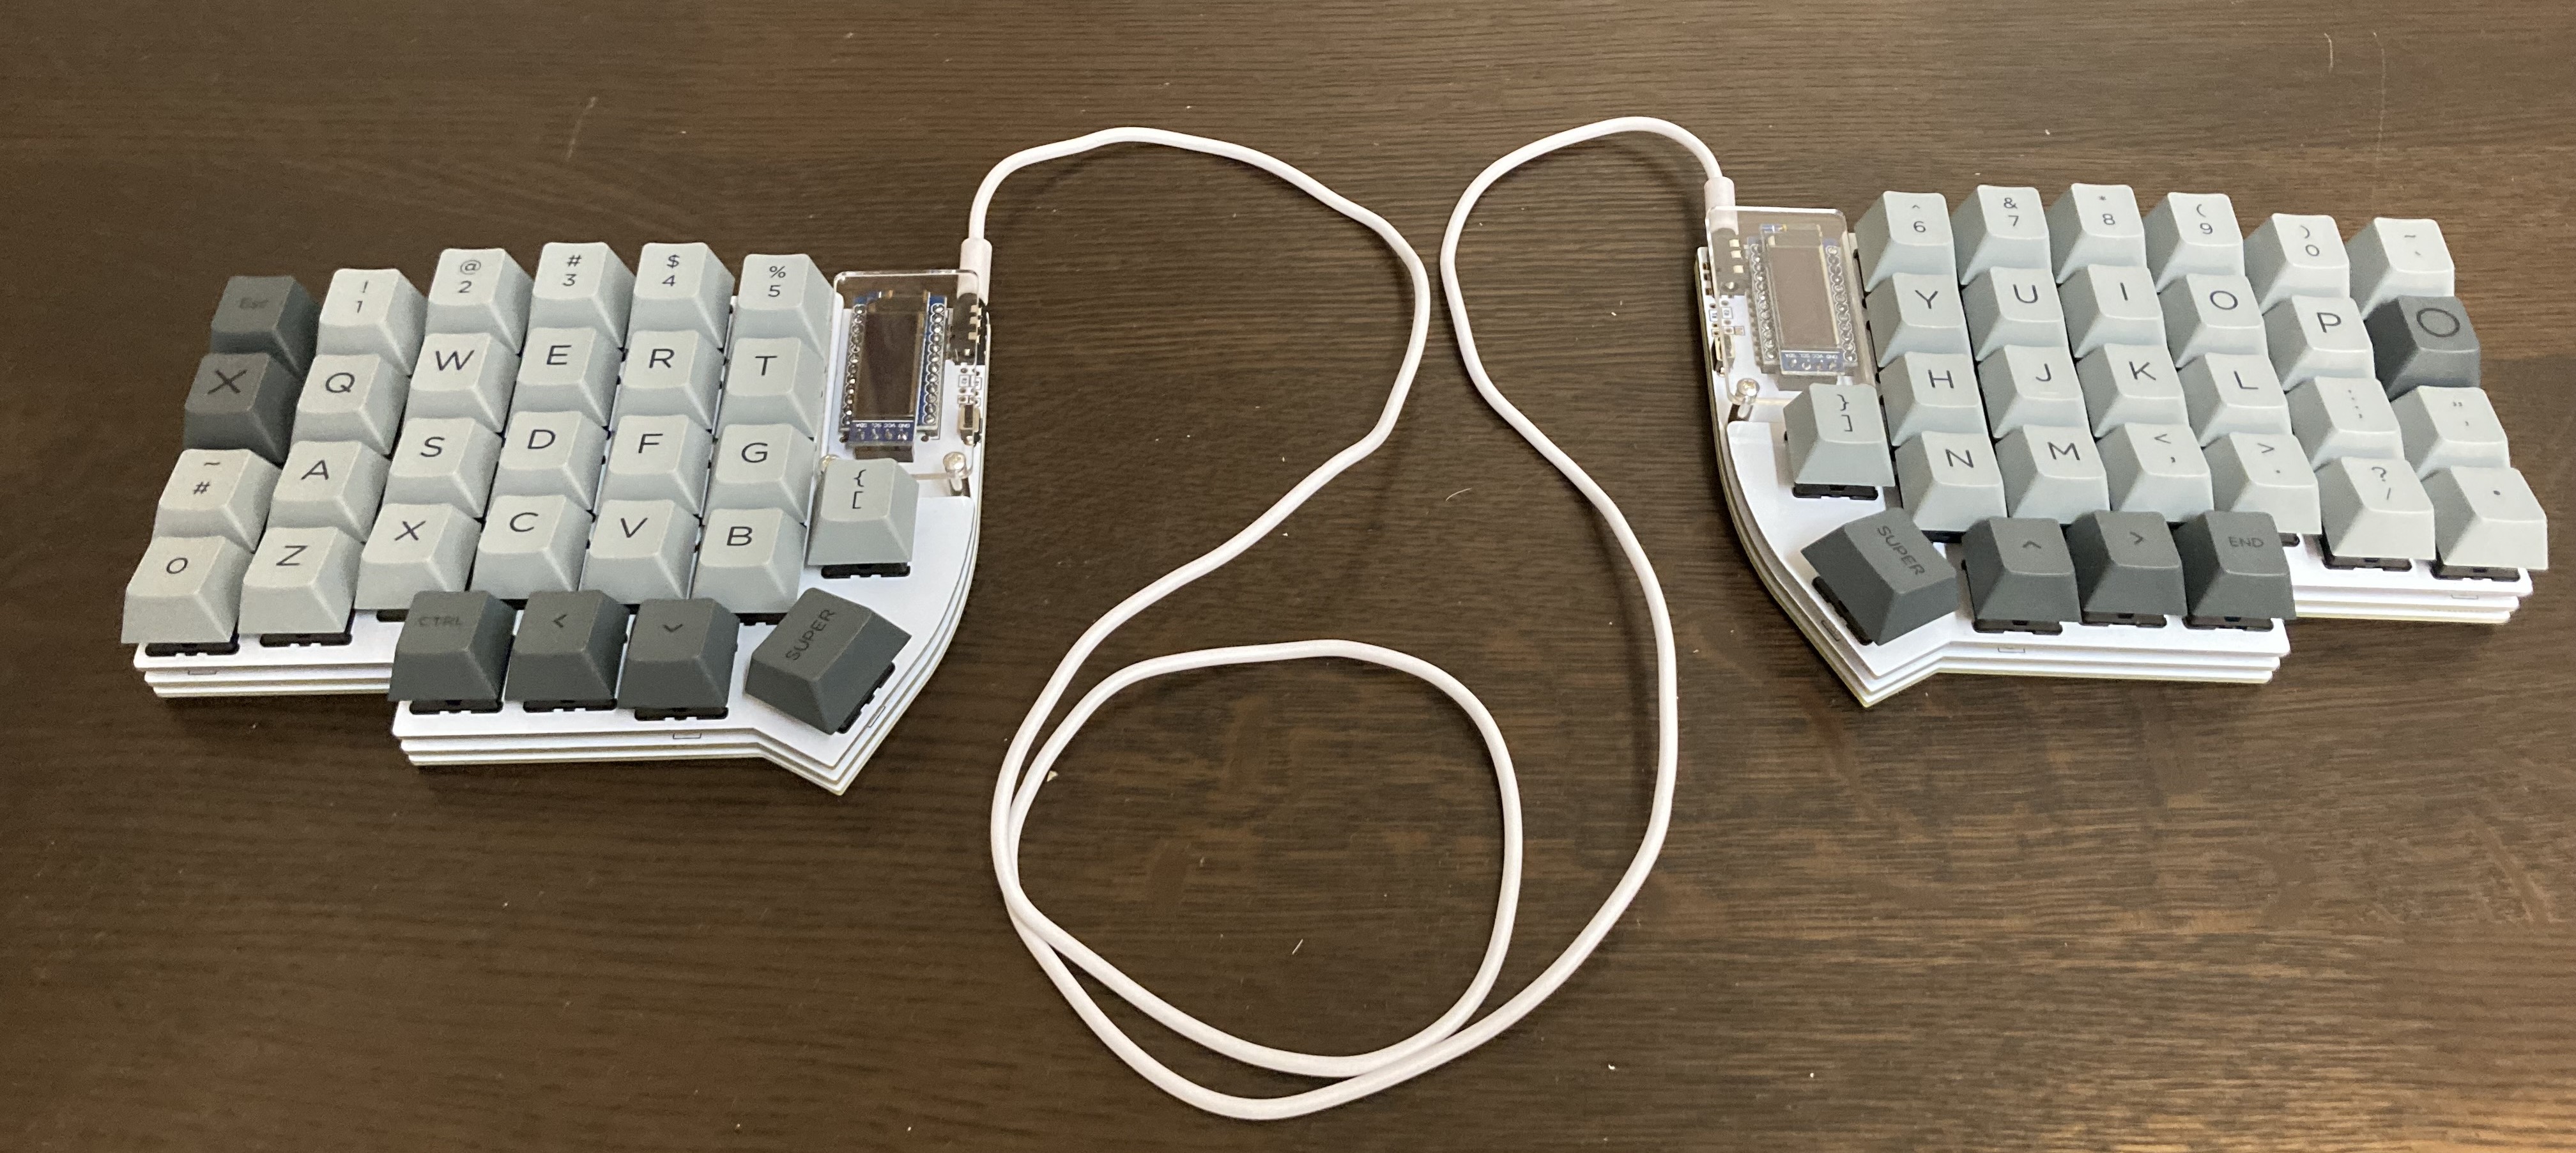
The rest was such a blur I didn’t get many pictures, but here is the assembled version:
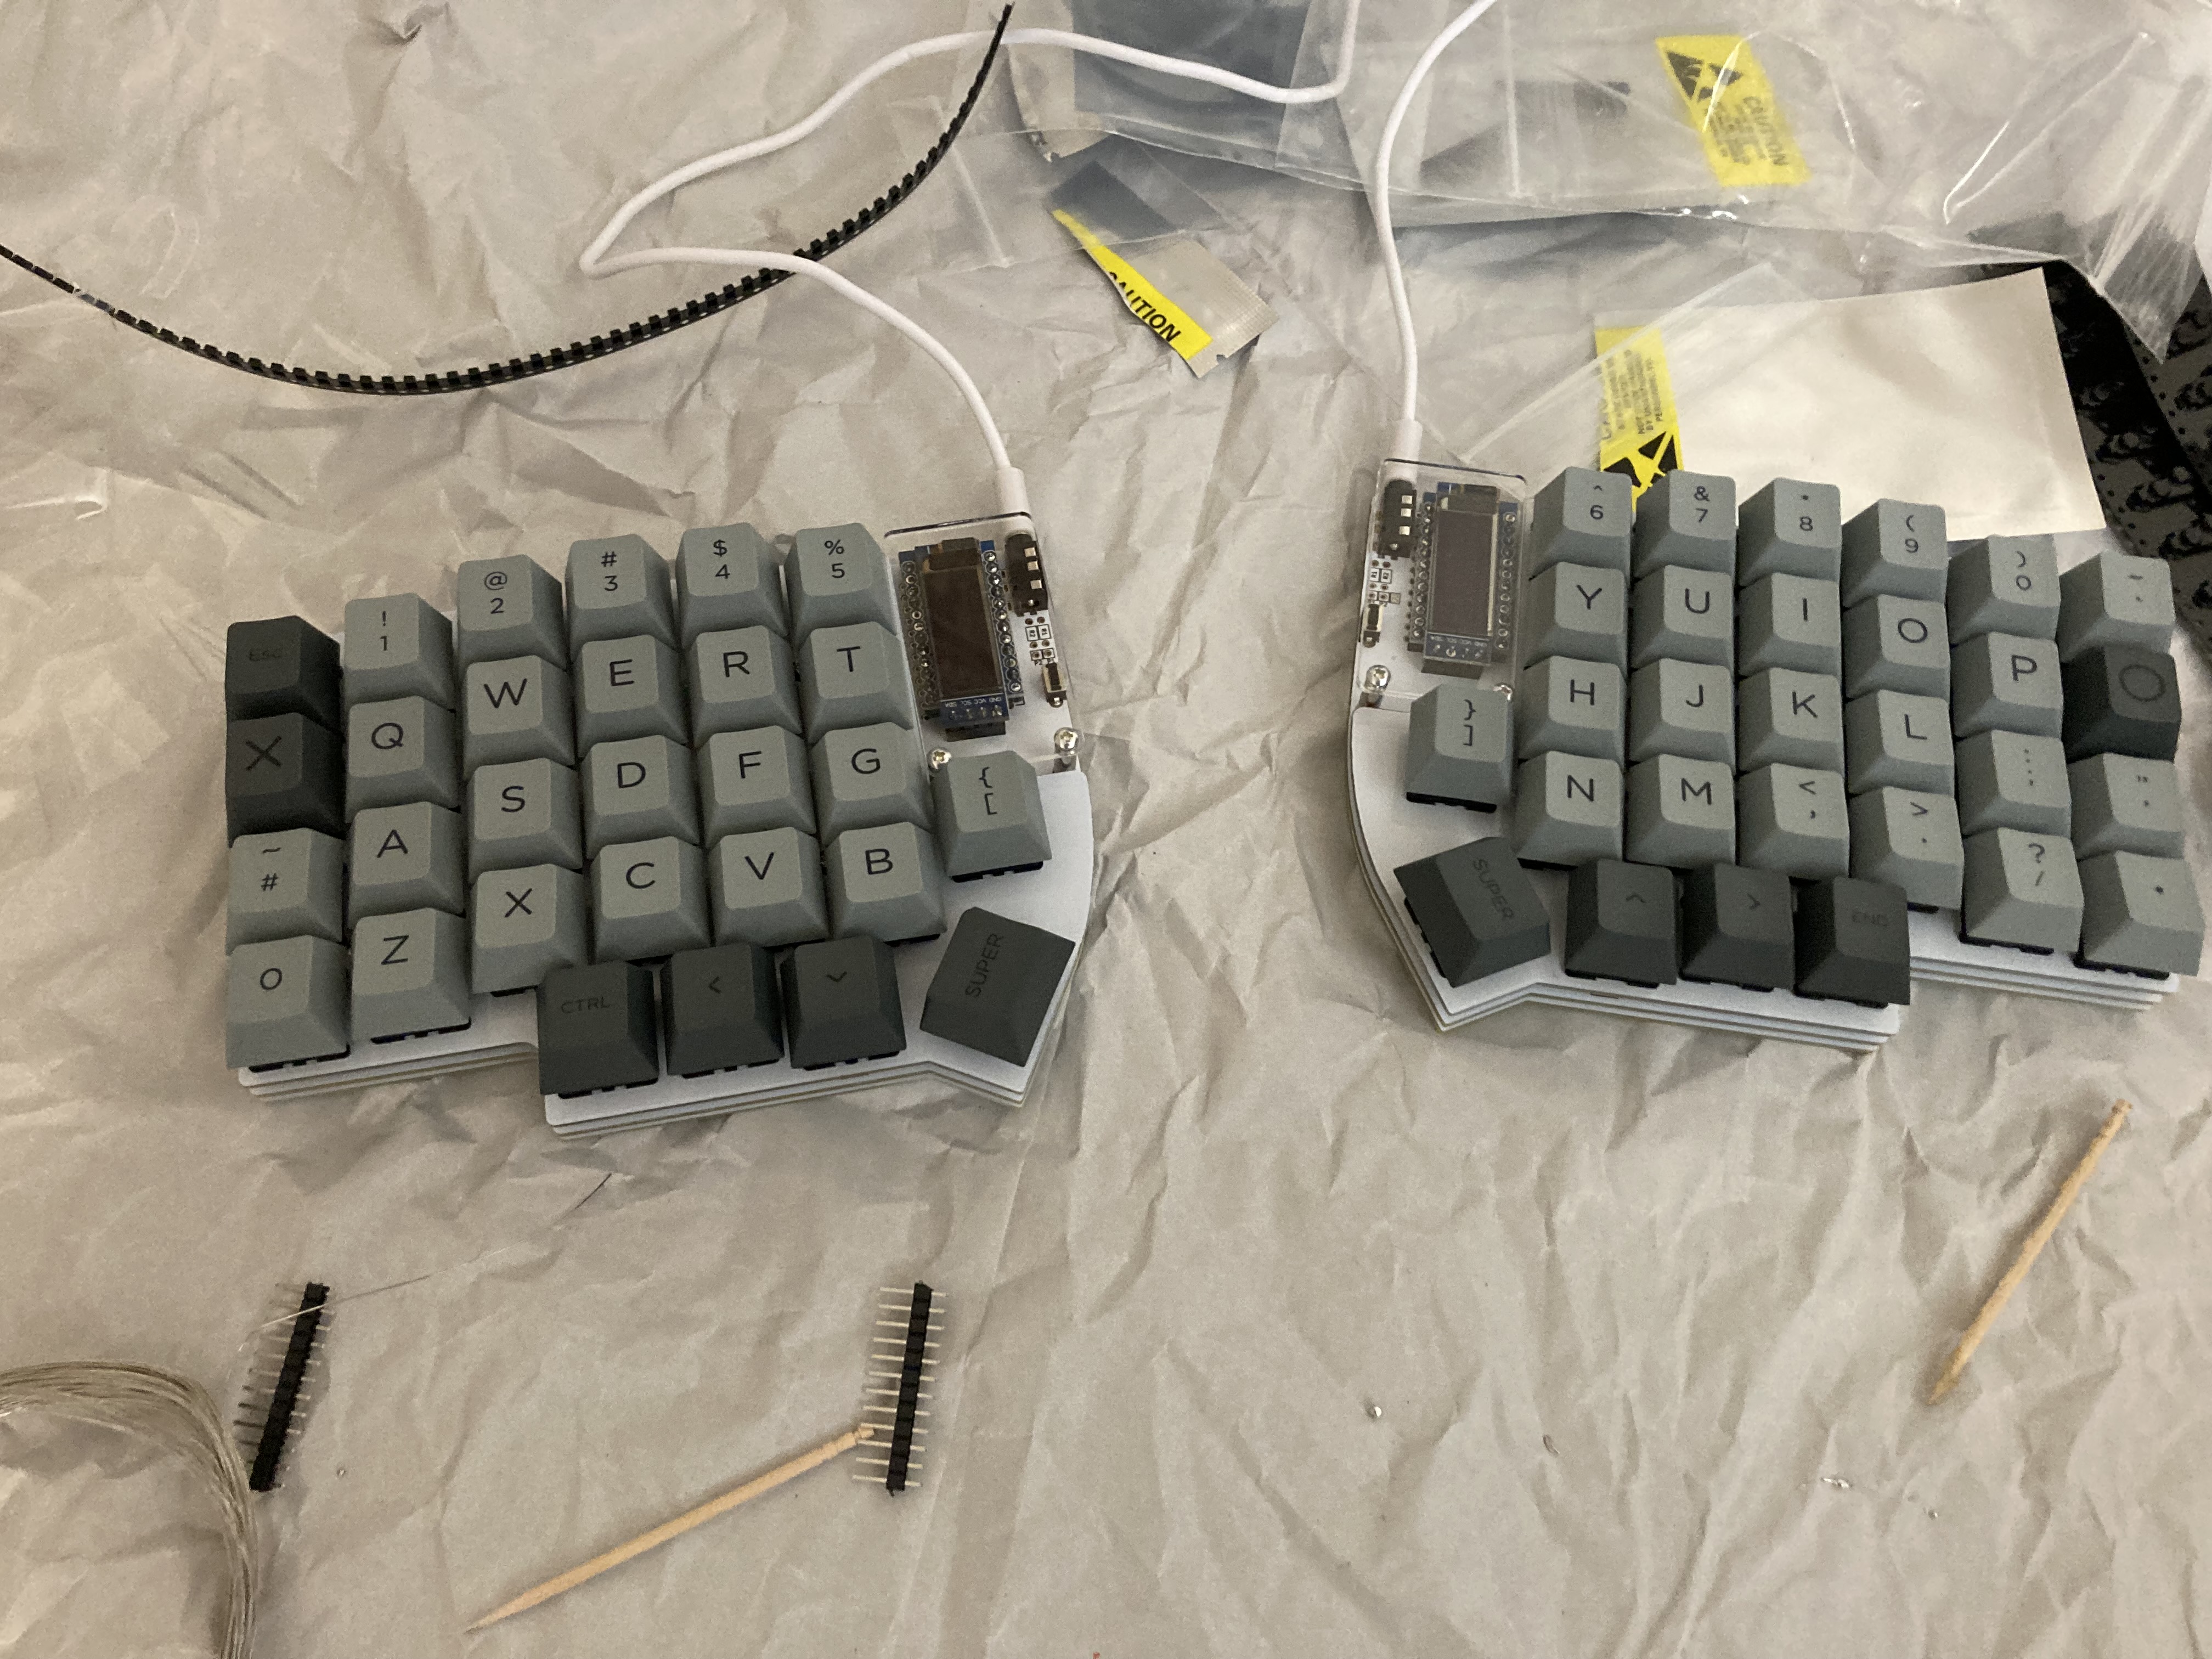
Finally I flashed the keyboard with the default layout and am now building up some muscle memory by writing this up.
Overall thoughts
The switches I ordered (cherry-mx black-silent) are actually silent, which actually took some getting adjusting to. The amount of force is also something I’m not in love with, but I might warm up to it. I was really surprised at how natural typing is until I need to use a key that is not in a standard keyboard’s position. Most notably the backspace key will take some getting used to. I noticed how I have some not so great habits; My ring fingers wander outside of their lane, making my fingers leave the home row. The biggest one though is changing IME modes. I always setup my pcs to switch between Japanese and English with ctrl + space. It never occured to me that while I primarily type space with my left hand, the switching between English and Japanese was exlusively with my right thumb which has led to some premature mentions being thrown around in Slack and GitHub (sorry!). I am kind of excited to get used to the arrow keys being in the home row (like vim) and hopefully will help me get used to nvim in the future.
I have a few ideas about what kinds of layout changes I want to make in the future, but will stick it out for a week with the default.
Some tips
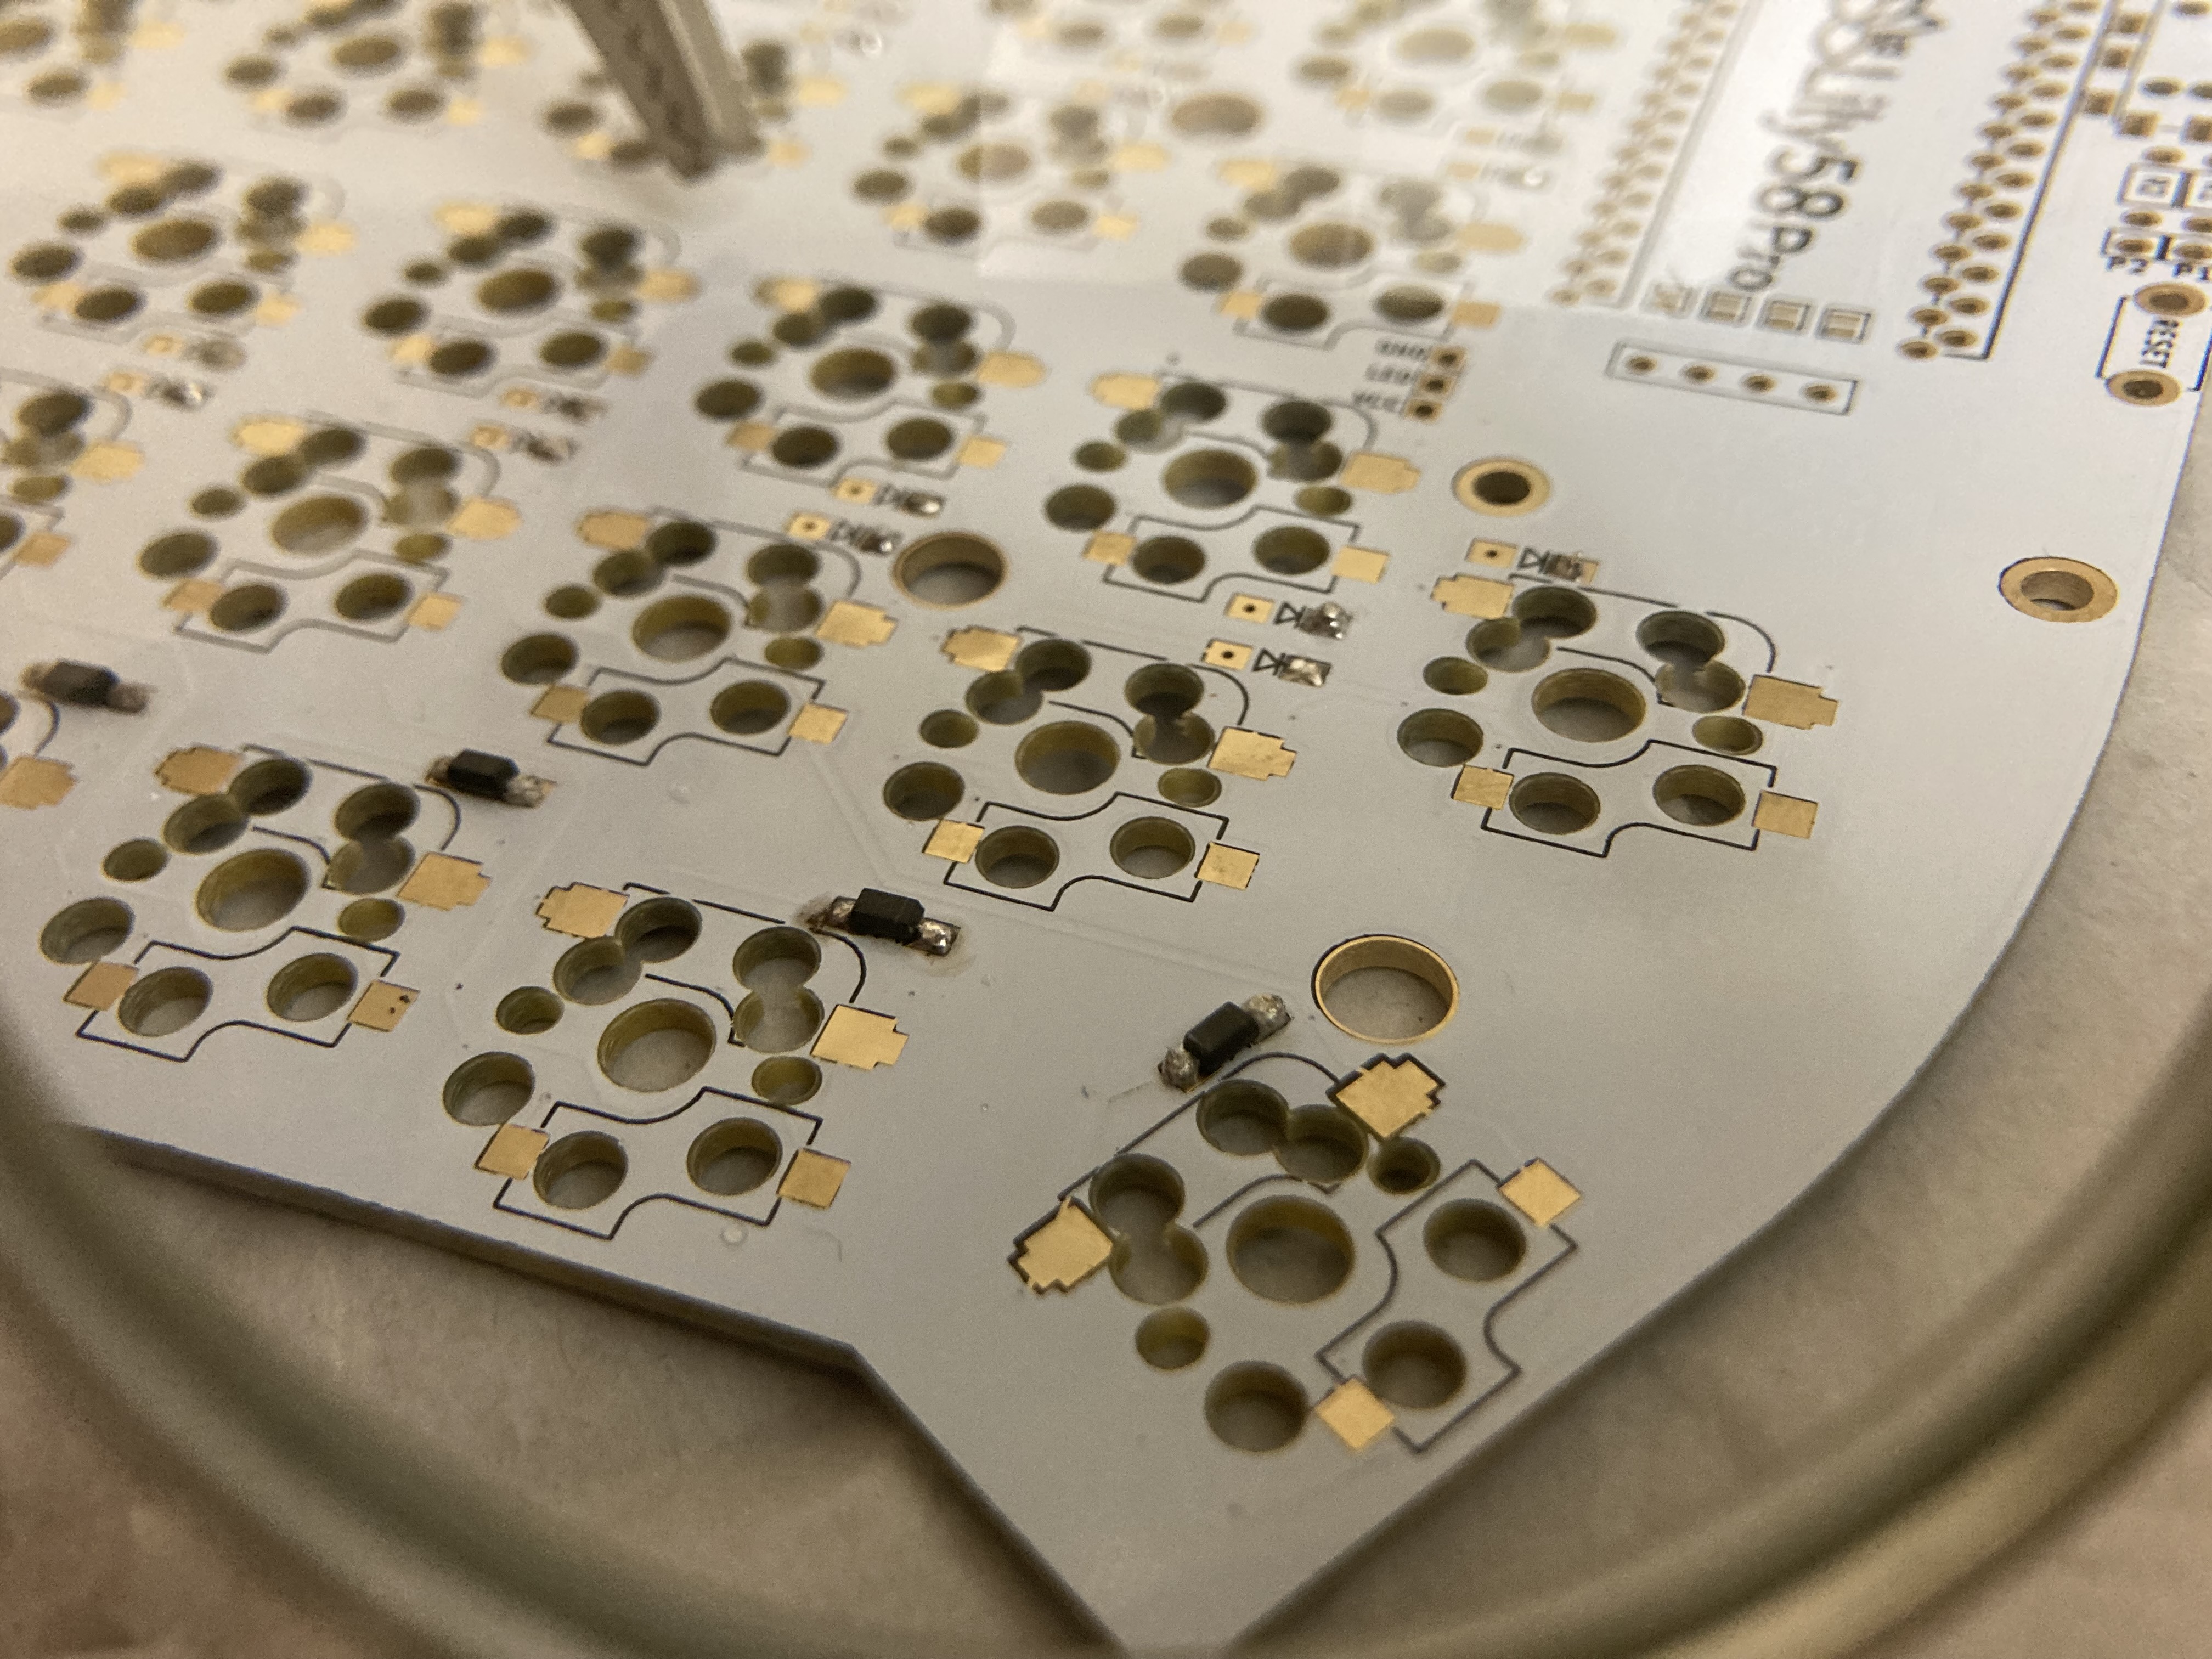
diodes
After all the diodes are soldered, use an electrometer on the ground setting to confirm the direction of the diodes. The nice thing about the lily58 is that the diode direction is printed on both sides, making it really easy to confirm before assembling the board and removes a stressful troubleshooting step. I had put one in backwards and was very happy I found it before installing switches/keycaps.
ProMicro
The directions on the site were a little vague so I didnt solder the spring headers to the ProMicro and that lead to really spotty connections when trying to flash the firmware with QMK. after double-checking with the documents provided in the kit, I realized that as least one side needs to be soldered. The more you know.
keycaps
I bought the standard set of keycaps and the home row key indents are pretty shallow, making htem easy to miss. I also ran into issues with finding appropriate keys for the utility keys. Its not super important, but something I would like to revisit in a few weeks and maybe order some blank caps.
base plate
The base plate has some sharp corners to them and can easily scratch wood desktops. I’m still thinking about how to best go about fixing this, and am currently contemplating coating the base plates in silocone. If I can get the mold just so, it would be a pretty cool non-slide coating that can also keep scratches off my desk.